headerchop.jpg

4.24.2014

Blueberry Buttermilk Scones


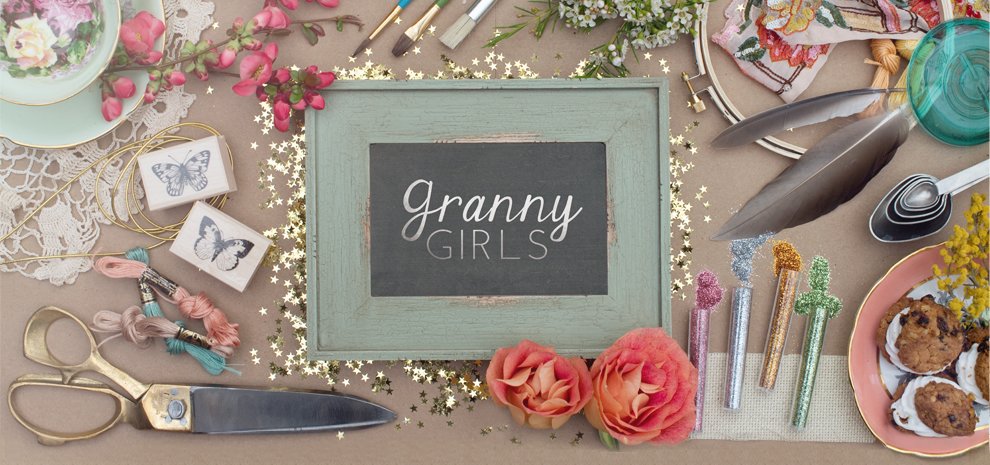
We made these scones for our Mother's Day Brunch feature with Zooey Magazine and Paper Fox LA. They are amazing.  That's really all that needs to be said here, but seriously, you should go make them right now.  They are soft and flaky, slightly sweet and lemony, buttery with crispy golden edges that have a sugary crunch...  Best served warm out of the oven, topped with salted butter and maybe some of your favorite jam.  They are also easily mixed together in one bowl, which means minimal dishes and maximal enjoyment.  These scones are perfect for a Mother's Day breakfast-in-bed.  Display them in pretty basket with a set of gorgeous DIY hand-dyed napkins and you have the loveliest gift around.  And yes, all props were eaten after the shoot.

Ingredients:

  • 4 3/4 cup unbleached all purpose flour
  • 1 tablespoon baking powder
  • 1/4 teaspoon baking soda
  • 1/2 cup sugar
  • 1 1/4 teaspoons salt
  • 1 cup + 1 tablespoon (255 g) unsalted butter (very cold, cut into cubes)
  • 1 1/2 cups buttermilk
  • 1 teaspoon grated lemon zest
  • 3/4 cup fresh or frozen blueberries (using frozen berries will keep your dough from turning blue)
  • 3 tablespoons buttermilk to brush on top of scones (you can also use melted butter)
  • turbinado (coarse) sugar for sprinkling on top

Directions:


1.  Preheat your oven to 400 F.

2.  Mix flour, baking powder, baking soda, sugar & salt together in a large bowl.

3.  Using a pastry cutter (or food processor) cut cold butter into flour mixture until it resembles coarse crumbs (butter pieces should be about the size of peas).

4.  Fold in buttermilk & lemon zest until dough begins to form.

5.  Gently mix in blueberries.

6.  On a floured surface, form dough into a circular disk (about 1.5 inches thick) and cut into 6 triangular wedges (like a pizza!) using a sharp knife.

7.  Place wedges on a baking sheet, brush tops with buttermilk & sprinkle with coarse sugar.

8.  Bake at 400 F. for 25-35 minutes, or until tops are golden brown.  Serve as-is or with butter and jam!


(Table runner, cutlery & floral label card courtesy of Paper Fox LA).

Happy Mother's Day!

4.17.2014

DIY Ombré Dip-Dyed Napkins

When the incredibly talented and lovely gals from Paper Fox LA asked us to come up with a craft for their Mother’s Day Brunch (featured on Zooey Magazine), dip-dyed napkins came to mind immediately.  Not only do they make a beautiful table setting but they are also the perfect gift.  Who wouldn’t want a set of gorgeous hand-dyed napkins?  These are super easy to make as well as being inexpensive -- the perfect combo when trying to come up with a gift for the mom who still appreciates things that are thoughtfully handmade.  And don't they all?


Materials

  • Rit Dye in whatever colors you want.  We used these colors: Lemon yellow, fuschia, rose pink & sunshine orange mixed with rose pink for the peachy color.
  • White napkins (we got ours from Bed Bath & Beyond).  Just make sure that they are 100% cotton and not polyester.
  • A large bowl
  • Salt
  • Liquid laundry detergent

Directions


Before you get started, remember that you are working with dye.  Don’t wear clothes that are white/special to you.

1.  Prepare your dye in a large bowl according to the directions.  We used Rit Dye but didn’t need a giant batch so we used about half the package for each color.  First, mix the dye powder with 2 cups of hot water, 1/2 a cup of salt and a splash of liquid detergent in a bowl and stir well (this insures that all the dye crystals dissolve). Then mix in an additional 6 cups of hot water. 

2.  Rinse the napkins under hot water getting them fully wet. Wring them out and then fold your napkin the way you would like it to lay on the table.

3.  Quickly dip the napkin until it’s 3/4 of the way into the dye leaving about 1/4 of white fabric at the top.  This creates your first & lightest-colored layer.


4.  Then dip it about halfway into the dye, holding it there for about 5 minutes.


5.  Then dip it to about 1/4 of the way into the dye, again holding it in this position for about 5 minutes. 


6.  Finally, dip the bottom 1/4 of the napkin into the dye and leave it submerged until you have achieved your desired (and darkest) color.  We draped our over the edge of the bowl and let them sit for about 25-30 minutes.


*Note* With a couple of our napkins the dye bled up into the top area that we wanted to leave white. To fix this we put some bleach in a bowl and dipped that portion in for about 30 seconds until it was white again.  Afterwards, rinse thoroughly.

7.  Repeat this process with as many napkins as you want in as many colors as you want.  You can even try mixing different dyes to create your own custom colors!

8.  Once you have achieved your desired results, rinse the napkins under cold water until the water comes out clear.  Hang them to dry.

9.  Put them through a cold rinse wash (without anything else in the load) & tumble dry.  They'll probably be wrinkly so give them a good iron and fold them up the same way you did when you dyed them.

We placed our on the table with a cute little jar of jam (to go with fresh baked scones!) and a few small flowers tied together with some twine.


For more Mother's Day ideas, check out our collaboration with Paper Fox LA & Zooey Magazine and stay tuned for more upcoming tutorials!

Photos by Amanda Crew and Andrew Abajian.